
What is the Secondary Survey?
In this blog post, we explained the primary survey. The primary survey is an initial, rapid check for life-threatening illnesses and injuries. But here, we’re going to be focusing on the secondary survey.
The secondary survey is carried out after the primary survey has been completed and any problems have been fixed.
The purpose of a secondary survey is to perform a more detailed and thorough examination to identify illnesses and injuries that may have been missed.
SAMPLE
Part of a secondary survey involves questioning the casualty (if they are responsive) about important information regarding their history.
If the patient is unresponsive, ask any bystanders who may know the patient. Also, be sure to check for any medical warning jewelry the patient might be wearing around their neck or on their wrist. These can provide crucial information about potential allergies and other aspects of a person’s medical history.
The acronym SAMPLE can help to remind you of the important questions to ask.
SAMPLE stands for:
- S: Symptoms
- A: Allergies
- M: Medication
- P: Past relevant medical or surgical history
- L: Last meal / last drink
- E: Events leading up to the incident or injury
Head-to-Toe Examination
The secondary survey involves a methodical reexamining of the casualty from head to toe.
If the casualty is conscious and responsive, always ask for consent before beginning a primary or secondary survey.
Head & Face
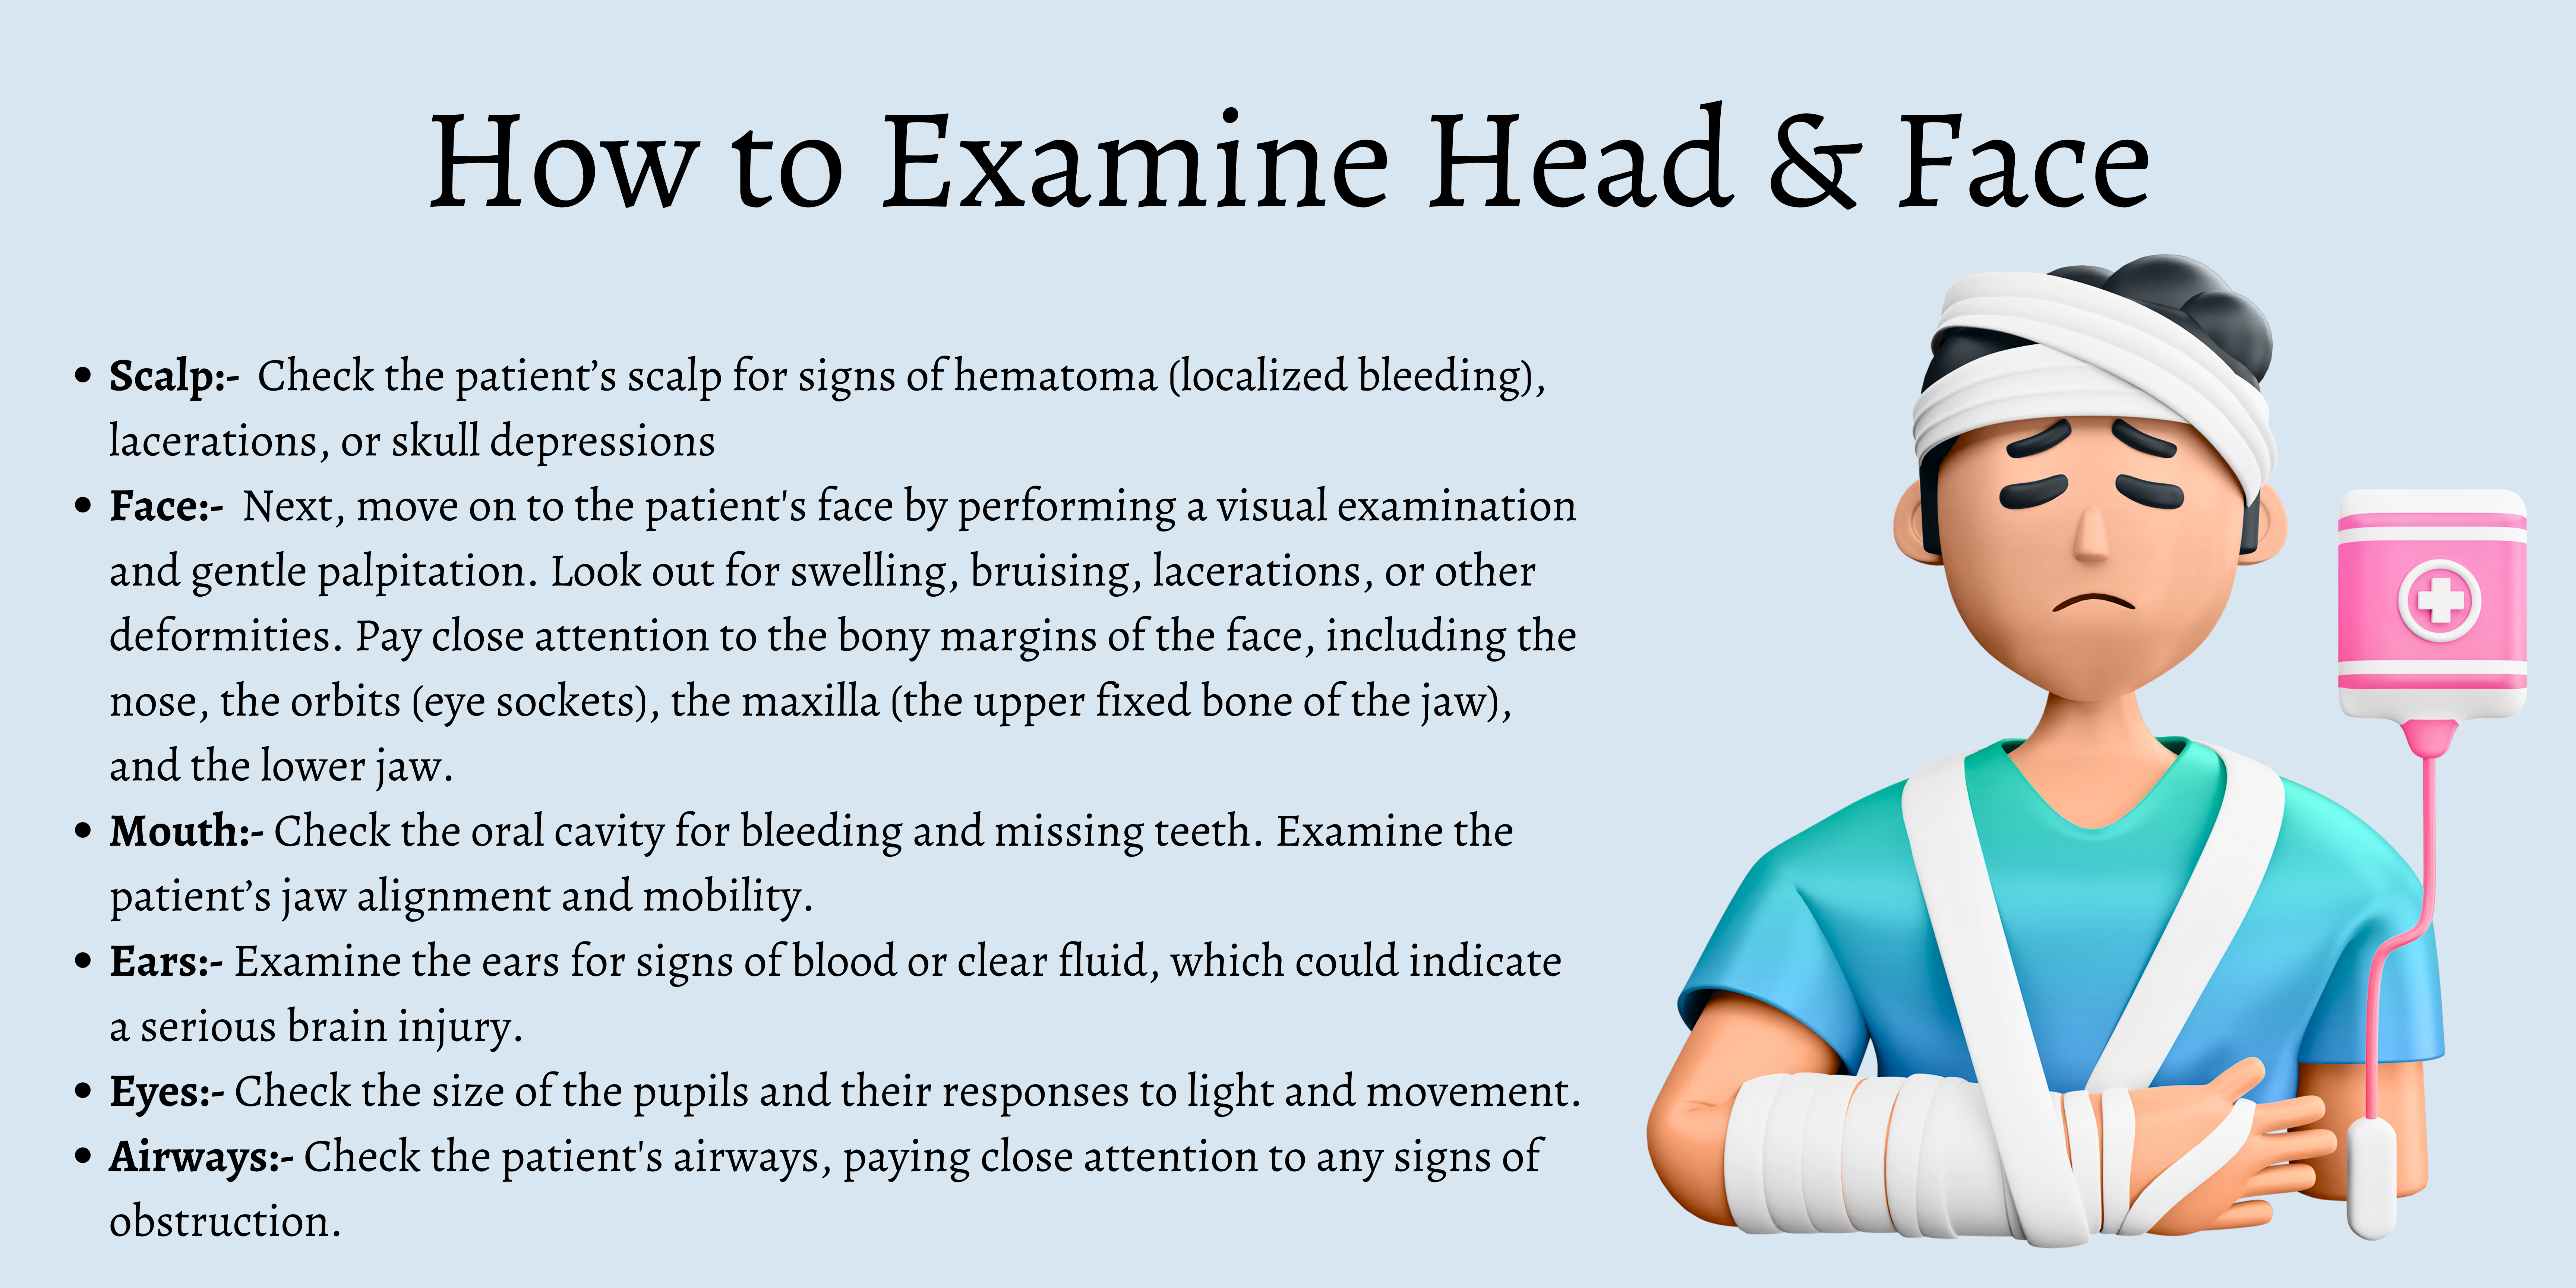
- Scalp
Check the patient’s scalp for signs of hematoma (localized bleeding), lacerations, or skull depressions. All of these can indicate a serious injury.
Gently palpate (touch) the scalp during your examination to detect any injuries that might be covered or obscured by hair.
- Face
Next, move on to the patient’s face by performing a visual examination and gentle palpitation. Look out for swelling, bruising, lacerations, or other deformities. Pay close attention to the bony margins of the face, including the nose, the orbits (eye sockets), the maxilla (the upper fixed bone of the jaw), and the lower jaw.
- Mouth
Check the oral cavity for bleeding and missing teeth. Examine the patient’s jaw alignment and mobility.
- Ears
Examine the ears for signs of blood or clear fluid, which could indicate a serious brain injury.
- Eyes
Check the size of the pupils and their responses to light and movement.
- Airways
Recheck the patient’s airways, paying close attention to any signs of obstruction.
Neck
Do not move the patient. Always treat a casualty as a potential cervical spinal injury until this can be ruled out. Carefully immobilize the neck before inspecting it for signs of injury.
Examine the neck by looking and gently palpating from all angles. Check for any signs of tenderness, bruising, swelling, lacerations, or other deformities.
Chest
Perform a visual examination of the patient’s chest, looking first for life-threatening injuries such as open wounds or puncture wounds. Pay attention to any signs of bruising, lacerations, swelling, or other abnormalities.
Check the chest for symmetry of the chest wall, noting any disparities during inhalation and exhalation.
Use both hands to palpate the entire chest wall. Look and listen for signs of crepitus (a crackling or grating sound that could be a sign of subcutaneous emphysema.)
If the patient is responsive, check for any tenderness as you perform your examination. Pay special attention to the bony areas of the sternum and the clavicle, looking for signs of fracture.
Listen to the patient’s breath and note any abnormal effort required, along with the speed of each inhale and exhale. And if the ambient noise level allows, listen to the patient’s heart, checking for rhythmic, non-muffled beats.
Abdomen
Palpate and visually examine the abdomen for signs of injury, such as bleeding wounds, swelling, or bruising.
Check for any distension and tenderness and listen to the bowel sounds if the ambient noise allows.
If no visible injuries are present, place the palm of one hand flat onto the center of the abdomen and gently press down, observing the patient’s pain response.
Pelvis
Visually inspect and gently palpate the pelvic area, taking care not to move the patient if it is unsafe to do so. Look for signs of bleeding, swelling, lacerations, or other deformities, and check for symmetry of the pelvic bones. Also, be aware of any signs of incontinence relating to the injury.
Back
If the casualty is lying face up, the back area is hidden and can only be accessed by log rolling the patient. If any kind of neck or spine injury is suspected, do not move the casualty. Instead, wait for professional medical help to arrive.
If the back is safely accessible, perform a visual examination checking for signs of obvious fractures, dislocations, bleeding, lacerations, swelling, or bruising. Palpate the spine from top to bottom, checking for any signs of misalignment, swelling, or tenderness along the vertebrae. Repeat this process for the ribcage.
Arms
Thoroughly assess the arms for sprains or fractures by palpating each one from the hands up to the shoulders. Look for signs of tenderness and any decrease in the usual range of motion.
Pay particular attention to any areas of swelling around joints, bones, and muscles. Observe each arm side by side to compare shape, color, and form, looking for any asymmetrical differences.
If necessary, immobilize an injured arm with a splint.
Perform a capillary refill check by compressing the patient’s fingernail. Normal color should return in under 2 seconds.
Legs
Just like the arms, thoroughly assess each leg for sprains or fractures by palpating each one from the ball of the hip to the base of the foot. Look for signs of tenderness and any decrease in the usual range of motion.
Pay particular attention to any areas of swelling around knee and ankle joints, bones, and muscles. Check each leg side by side to compare shape, color, and form, looking for any asymmetrical differences.
If necessary, immobilize an injured leg with a splint.
Neurological Assessment
The final phase of the secondary survey is a neurological assessment of the patient’s sensory and motor functions.
Depending on the situation, it may be appropriate to perform a more detailed assessment of a casualty’s level of consciousness by using the Glasgow Coma Scale (GCS). The GCS is a clinical scale that measures a person’s level of consciousness after a suspected brain injury.
For more information on the GLS for first aiders and first responders, read our in-depth guide here.
Conducting a neurological assessment during a secondary survey is important, as a patient’s condition can change quickly following a traumatic injury or acute illness.
Recheck the patient’s pupils and see how they respond to light and movement. If the patient is responsive, ask them to move their eyes up and down and from right to left.
Also, ask them to perform facial movements such as opening and closing the eyes, raising the eyebrows, showing the teeth, and puffing out the cheeks
Conclusion
In a high-pressure emergency situation, it’s easy to miss crucial details during a quick primary survey. That’s why reexamining the patient with a methodical and thorough secondary survey is so important.
Once the secondary survey is complete, continue to monitor the casualty and take basic observations, such as pulse and respiratory rates, until professional medical help arrives.
SAMPLE is a great anagram to remember all of those things. Great tips!