How to Make Slings for Arm Injuries
A sling is a device that aids in holding a victim’s injured arm closer to their body and keeps the arm from moving during the healing period.
There are certain arm injuries that get worse when a patient moves their arm too much, and a sling helps in this case as it maintains the position of the injured arm in a way that reduces the swelling and pain.
In certain cases, a sling is accompanied by a swathe, which is basically a wide cloth that wraps around the casualty’s chest over the arm sling and prevents them from lifting their arm.
Slings are mainly of two types, namely arm slings and elevation swings. Arm slings help with dislocated or broken shoulders or arms and are used in most of the injuries related to one’s arm and upper limbs. Elevation swings are used more with regard to injuries in the hands and fingers.
Always make sure the sling fits the casualty comfortably. The strap of a sling could irritate the skin on the back of a patient’s neck. In order to prevent this from happening, either place a pad under the strap or ask the patient to wear a shirt with a collar.
What Is an Arm Sling Used For?
An arm sling is used to immobilize and stabilize a patient’s arm and shoulder when they suffer an injury. These injuries might include shoulder or arm surgery, broken bones, or dislocated wrist, elbow, or shoulder.
By speeding up the healing process, an arm sling keeps a casualty’s arm from moving and stops it from getting damaged any further. In some situations, a sling is often used along with a splint or cast, which are devices that help immobilize and support broken bones.
If you come across a patient who needs an arm sling immediately and cannot reach a hospital soon, you can make one on your own.
An arm sling can be made using a bed sheet, a shirt or coat, or even a necktie. Once the fabric is sorted, you will require a pair of scissors to cut the material accordingly.
Types of Medical Arm Slings
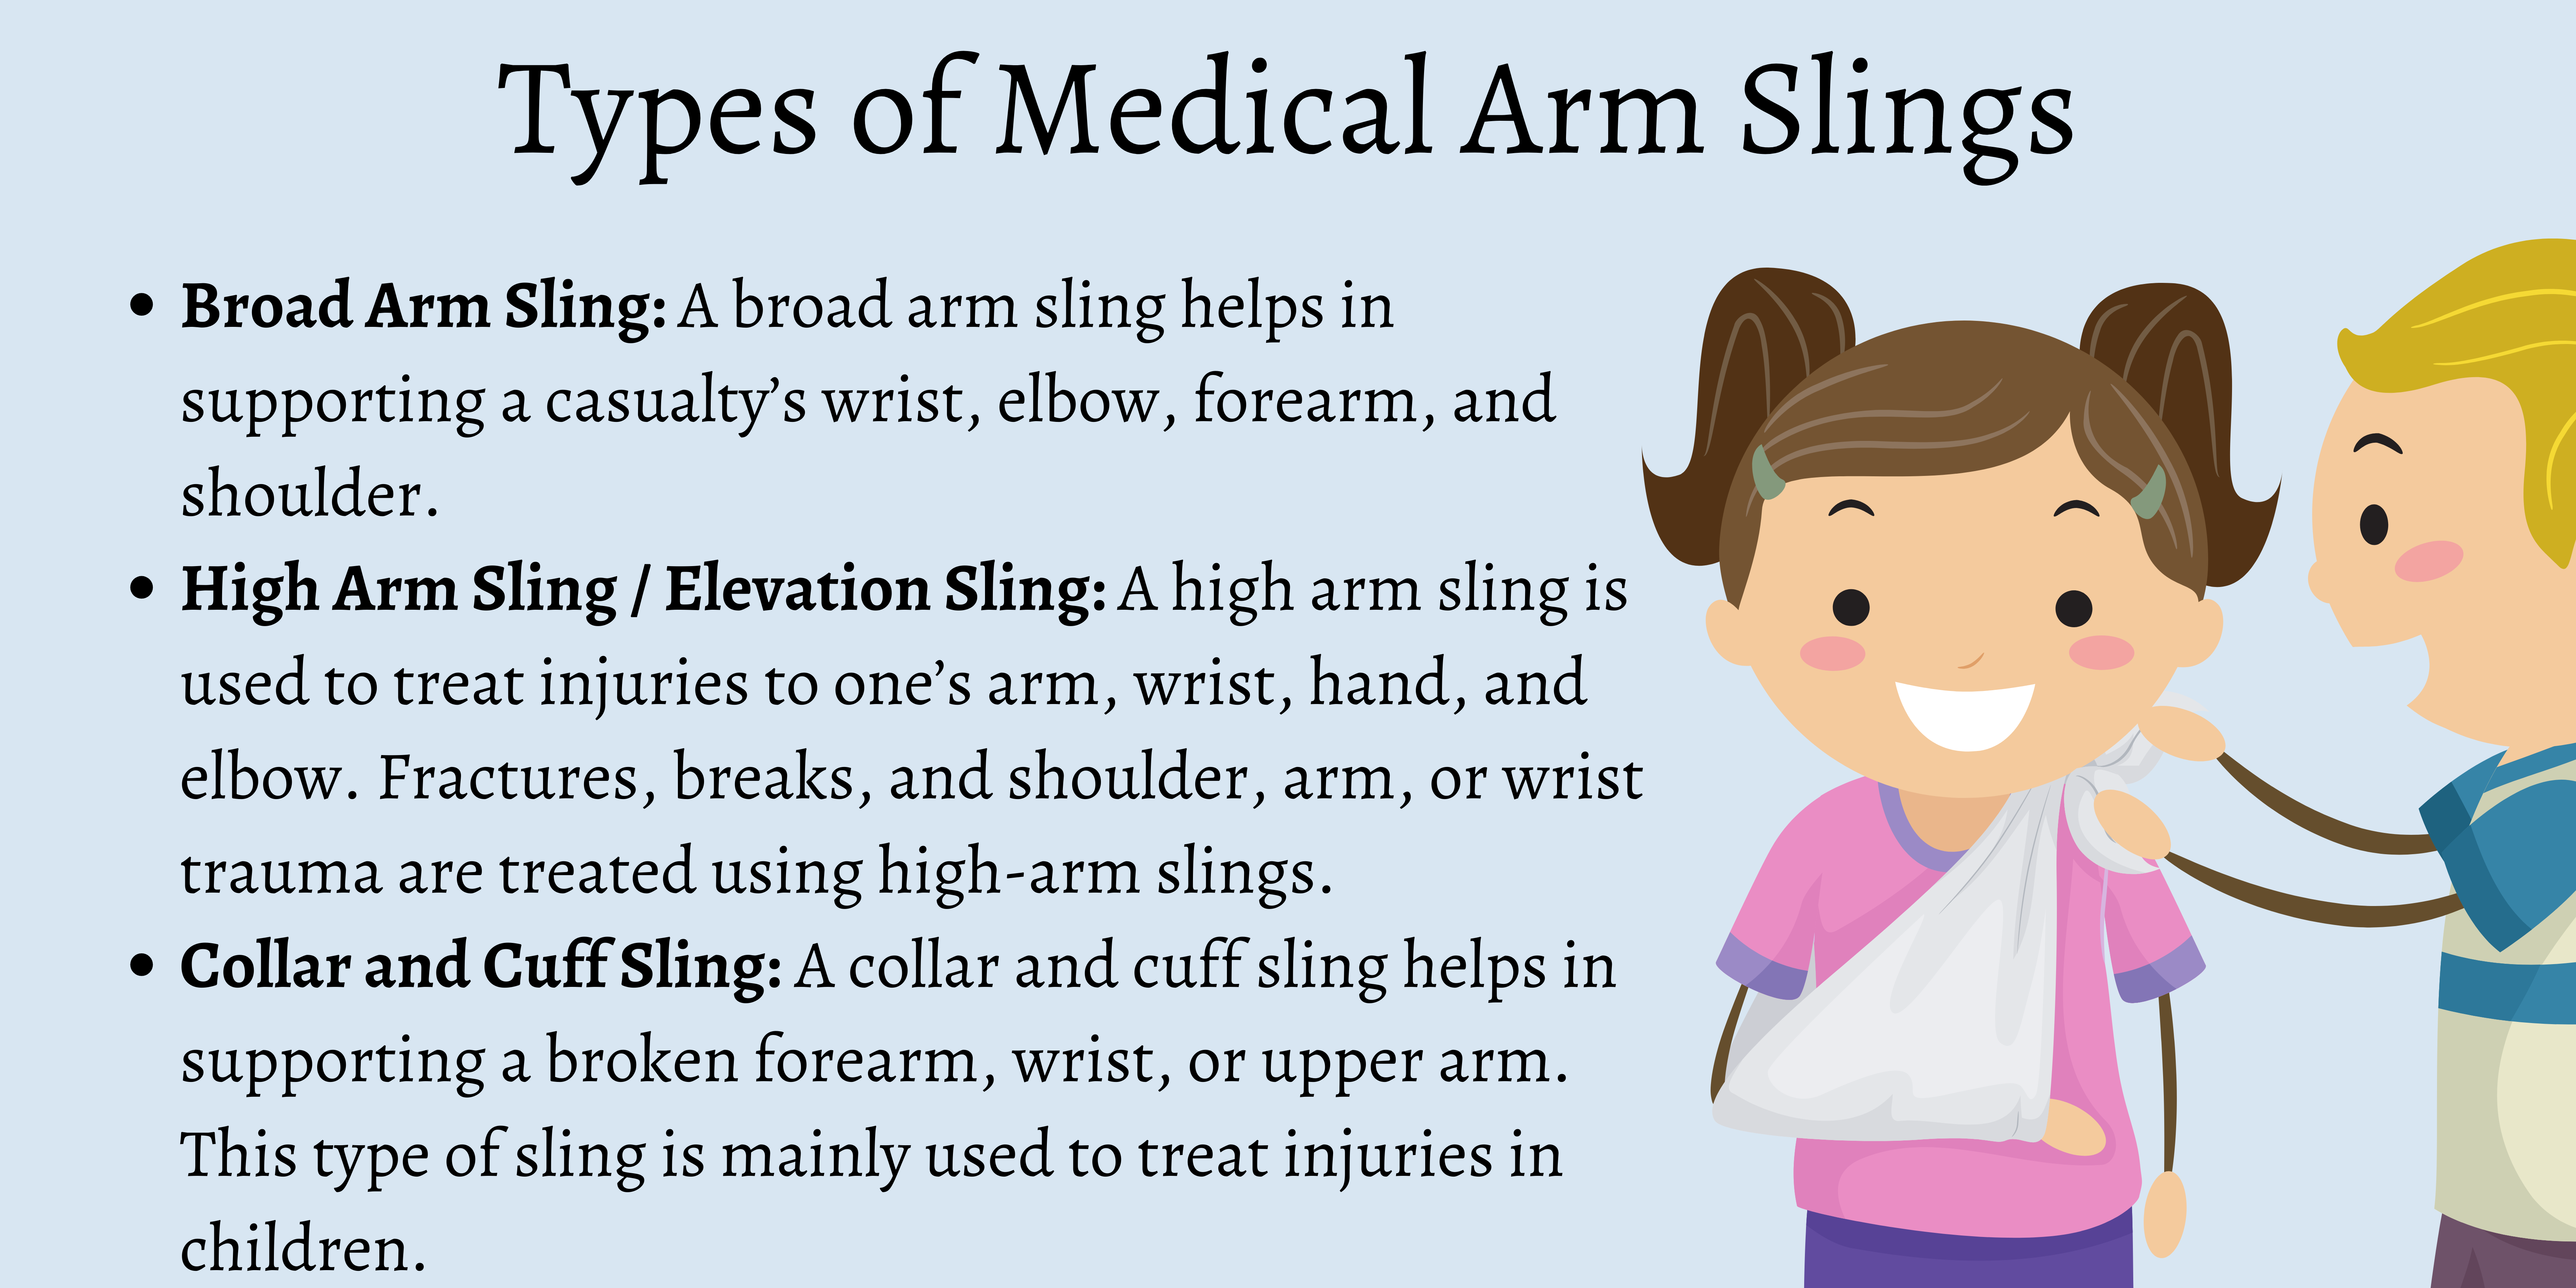
There are three types of medical arm slings, namely broad arm slings, high arm slings, and collar and cuff slings. Let’s take a look at what each of the slings is used for.
Broad Arm Sling
A broad arm sling helps in supporting a casualty’s wrist, elbow, forearm, and shoulder. When the broad arm sling is on, a patient should be able to see their fingertips, and their hand should be positioned slightly higher than their elbow.
High Arm Sling / Elevation Sling
A high arm sling is used to treat injuries to one’s arm, wrist, hand, and elbow. Fractures, breaks, and shoulder, arm, or wrist trauma are treated using high-arm slings.
These are often used by athletes recovering from an injury and also elderly individuals dealing with stiffness in their elbows and shoulders.
Collar and Cuff Sling
A collar and cuff sling helps in supporting a broken forearm, wrist, or upper arm. This type of sling is mainly used to treat injuries in children. To ensure that the child’s arm remains elevated while resting, they are asked to move their fingers regularly while having the collar and cuff sling on.
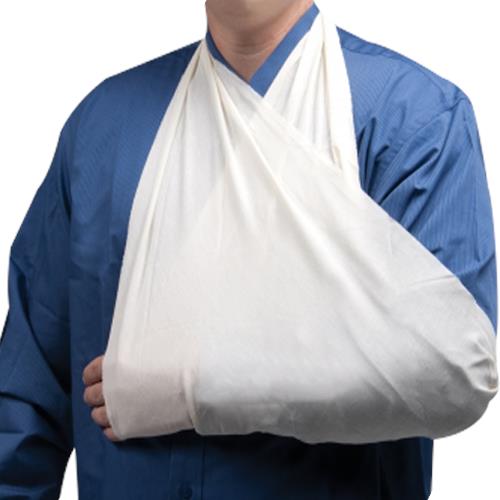
How to Wear an Arm Sling
Here is how you can help a casualty wear an arm sling:
- Ask the casualty to use their uninjured hand to support their arm. Slide the triangular bandage underneath their arm gently in a manner such that the triangle’s point is located under the elbow of the casualty’s injured arm.
- The top end of the bandage should then be brought around the back of the neck.
- By folding the bandage’s lower end up over the forearm, make it meet the top area of the bandage at the area of the shoulder on the injured side.
- Adjust their sling in a way that supports their arm completely right till their pinky finger.
- Twist the material and tuck it in so that the edge of the bandage by the elbow remains secure. You can also use a safety pin to do so.
How to Wear an Elevation Sling
The steps involved in putting an elevation sling on a casualty are as follows:
- Ask the casualty to support their injured arm with their other, non-injured side of the shoulder.
- Lay the triangular bandage over the casualty’s injured arm by ensuring the tip of the bandage is pointing towards the elbow on the side of the injured arm.
- Tuck the bandage’s lower part underneath the injured arm.
- From the injured side, bring one end of the bandage diagonally across the casualty’s back to meet the bandage’s other end at the shoulder.
- Tie both the ends of the bandage in a reef knot over their collar bone, ensuring the free ends are tucked in.
- See to it that the edge of the bandage by the elbow on the injured side is securely placed by twisting and tucking in the remaining fabric. It can also be secured using a safety pin.

Conclusion
The importance of slings in arm injuries is extremely crucial. If you come across someone who has suffered an injury to their arm, you can help them by making an arm sling on the spot since the materials required for it are quite minimal.
Help them put it on while you wait for the emergency medical services to arrive and treat the casualty as needed.